Followers

19 April 2011

Firewall and Inner Fender Repair Work Continues

The more work I do in the engine compartment, the more areas I find that need repair.  Of course, the best time to do them is now while the body is off frame.  I can do all the work while seated comfortably on my rolling shop stool and I can access all the areas.  It has been frustrating and disappointing because I had planned to have the body mounted on the frame and have had most of any mechanical issues worked out two weeks ago.
 
However, I have made progress in some areas;  figured out how to mount the DBW gas pedal, removed ALL the interior, allowing easy access to the power brake booster, removed the AC/heater box and assembly, etc., etc., yada, yada, yada!

I've been learning fiberglass repair and I'd like to thank Dub, owner of Corvettes Etc. in Charlotte, NC, for taking the time to give me tutorials over the phone and internet.  His knowledge and advice have been invaluable and he has helped me get past my demoralized moments when I would think a task was in the too hard to do category.

Some, not all, areas follow:


Under the left fender. The front of the rocker panel  attaches here.  It should look like the fender section in the next pic. I got it to patch in, but Dub convinced me to spot repair rather than compromise the intergrity of the fender by cutting the section into it.

I built the area up with fiberglass and I'll will get to work on it with the grinder, filler and Dremel tool.
Sections of the firewall separating.
Old adhesive chipped out and the seam is ready for bonding.


The inside of the side scoop on the left fender was delaminated from a poor repair job.

The old repair job exposed after grinding.


Making a mold to lay in new fiberglass.


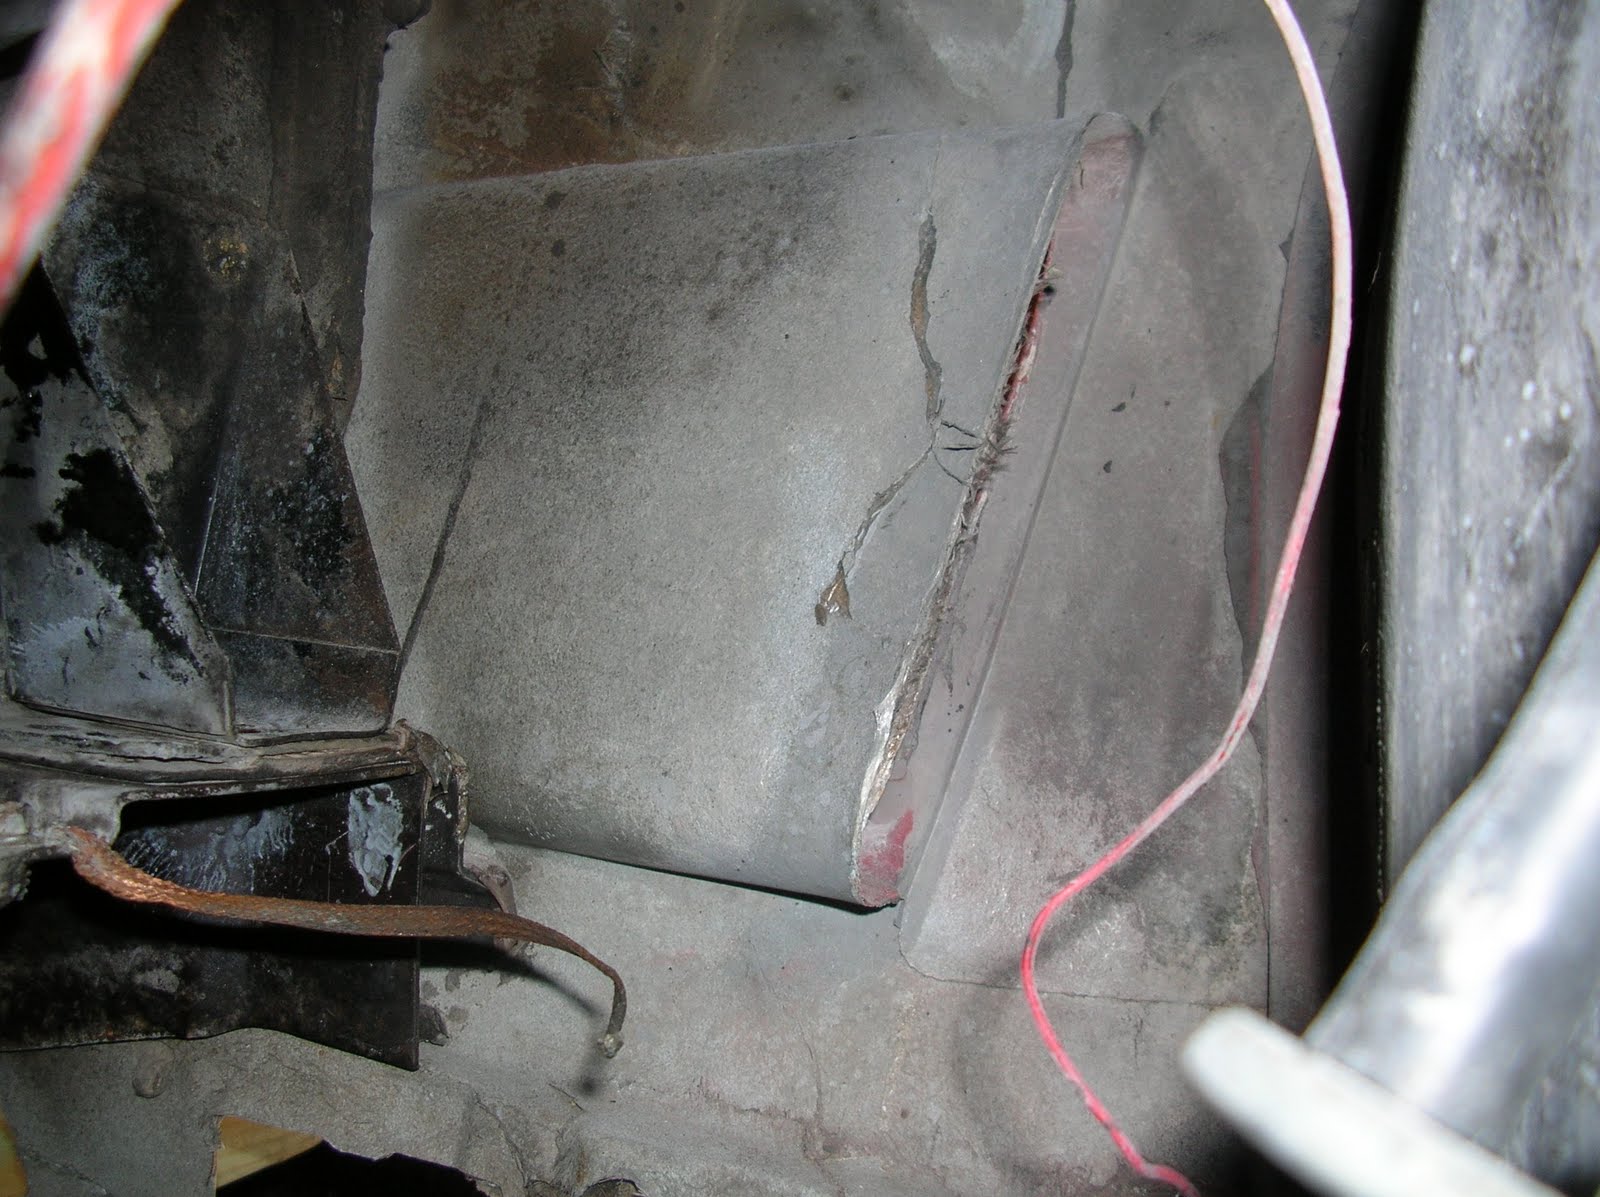
Holes in the firewall.


Holes patched 
A hole in the fender well ready for patching.


Checking the the drive by wire (DBW) gas pedal for fitment.  The upper mounting hole fits the existing hole in the frirewall and I drilled one for the lower.  The lower hole was below the existing metal mounting plate so I fabbed a new one and molded it into the firewall just above the big firewall patch (two pics up) by extending the patch far enough upward to mold in the plate.


I couldn't stop myself.  Once I started pulling the interior out, I figured the more stuff out of the way, the easier to work on things.  I pulled out the brake and clutch pedal and the rest of the wiring harness after I took this pic.

05 April 2011

Starting work after the winter break, or, my wife let me have her half of the garage back after the snow melted!!

I took a break for the unusually snowy winter we had here and rolled the chassis assembly under the body so my wife could use the garage during the snows.  The weekend after the engine start up in my last post, I raised the body high enough to roll the engine/chassis assembly under it for the winter.  Once it got to the low 20s, I decided to pack it up for the winter.  By the time my friend brought over a propane shop heater, the temps were rising and it's been tolerable working temps in the garage.  I have been using the heater for the fiberglass work, raising the heat of the body panels and the working temp for the resin/hardener.  I rolled the chassis out and moved it back into the other half of the garage, re-occupying my wife's side of the garage and making her park outside again. 

I am doing all the minor body/engine compartment work that is facilitated by having the body off the frame.  I fiberglass patched the underside of the mounting holes for the luggage rack on the rear deck lid since I won't be mounting the rack.  There are numerous little cracks and bad spots on the body that I'll patch from the inside.  I'll patch and finish the outside when I start the body/paint phase.  I'm also rebuilding the AC and converting it form the old VIR system to the newer accumulator system.

Of course, while the frame/engine is out/off, I'll patch, clean, and paint the firewall and engine compartment.

 I want to thank "DUB" of Corvettes, Etc., in NC who has given me telephone tutorials and advise on the fiberglass repair.  I found him in the paint/body section of the Corvette Forum.

Pix of the fiberglass and AC work to follow (as soon as I reload the flashcard driver on my computer).